Before you start the PyQt6 tutorial you will need to have a working installation of PyQt6 on your system. If you don't have either set up yet, the following steps will guide you through how to do this on macOS.
This guide is also available for Linux and Windows.
Note that the following instructions are only for installation of the GPL licensed version of PyQt. If you need to use PyQt in a non-GPL project you will need to purchase an alternative license from Riverbank Computing to release your software.
Install PyQt6 on macOS
If you already have a working installation of Python 3 on macOS, you can go ahead and install PyQt6 as for any other Python package, using the following --
pip3 install pyqt6
If you don't have an installation of Python 3, you will need to install one first. You can download macOS installers for Python 3 from the Python homepage. Once installed, you should be able to use the pip3 install command above to install PyQt6.
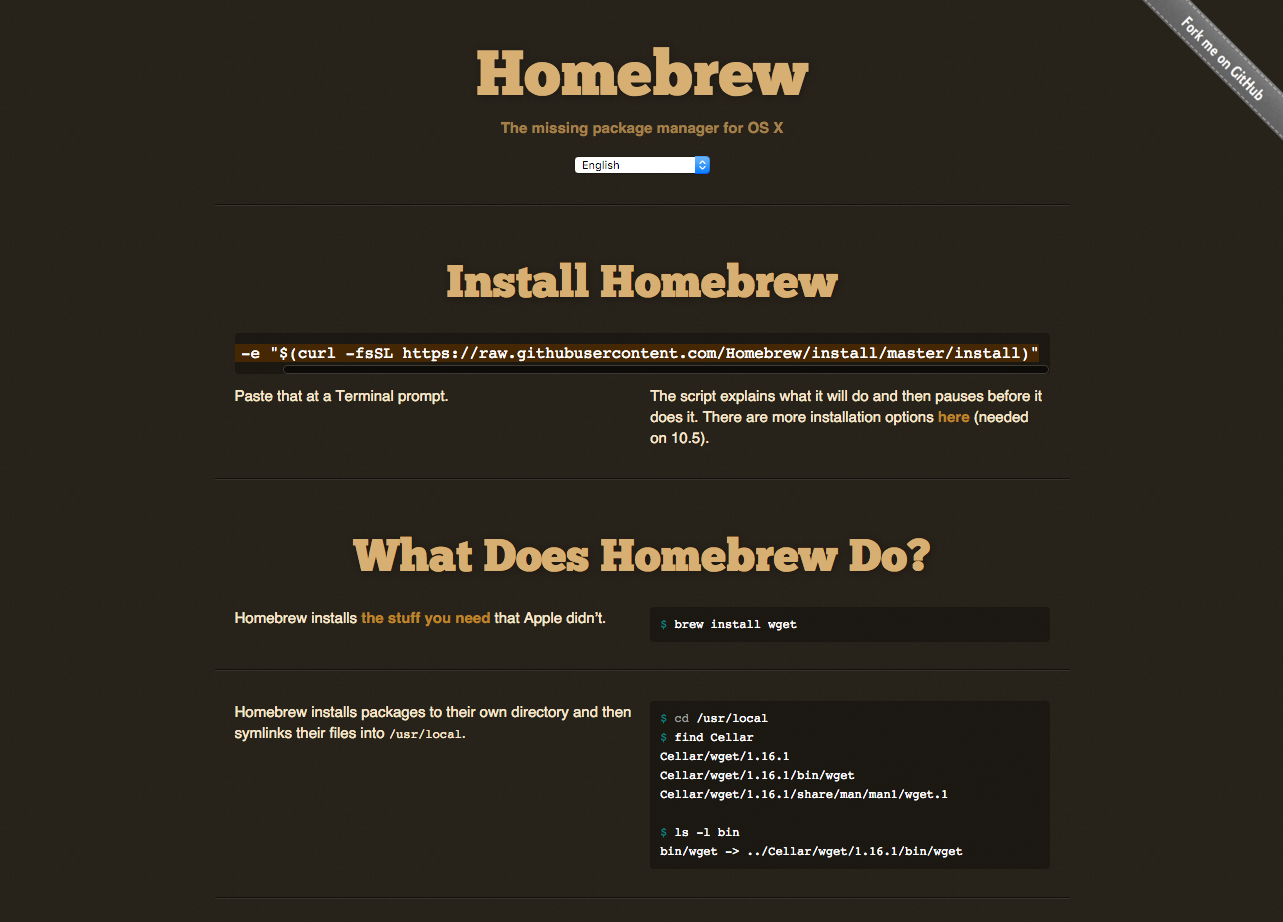
Another alternative is to use Homebrew. Homebrew is a package manager for command-line software on macOS. Homebrew has both Python 3 and PyQt6 available in their repositories.
 Homebrew -- the missing package manager for macOS
PyQt/PySide 1:1 Coaching with Martin Fitzpatrick — Get one on one help with your Python GUI projects. Working together with you I'll identify issues and suggest fixes, from bugs and usability to architecture and maintainability.
To install homebrew run the following from the command line --
ruby -e "$(curl -fsSL https://raw.githubusercontent.com/Homebrew/install/master/install)"
This is also available to copy and paste from the Homebrew homepage.
Purchasing Power Parity
Developers in [[ country ]] get [[ discount.discount_pc ]]% OFF on all books & courses with code [[ discount.coupon_code ]]Once Homebrew is installed you can then install Python with --
brew install python3
With Python installed, you can then install PyQt6 as normal, using pip3 install pyqt6, or alternatively choose to install it using Homebrew with --
Create GUI Applications with Python & Qt6 by Martin Fitzpatrick — (PyQt6 Edition) The hands-on guide to making apps with Python — Over 10,000 copies sold!
brew install pyqt6

