This custom PyQt5/PySide2-compatible widget provides a gradient designer with a handy interface to design linear gradients in your Python GUI applications. You can create a new gradient widget simply by creating an instance of the object.
gradient = Gradient()
The default gradient runs from black to white. The stop points are marked by a red box with a white line drawn vertically through it, so they remain visible on any gradient background.
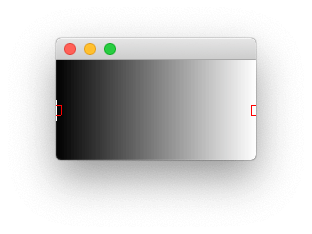 Initial state of the gradient designer
User Interface for Editing Gradients
The gradient designer widget allows editing of the gradient interactively using the mouse. The controls are —
- Double-click to add a new color stop to the gradient at the clicked location. The new stop is set to the same colour as the point to the right.
- Right-click on a stop marker to edit the colour of that stop, opening a platform-native colour selector tool — similar to the QColorButton widget.
- Click & drag a stop to move it — you can drag a stop past another stop to reverse the order. The two outermost points cannot be dragged.
To learn more about how mouse events and interactions work in Qt, see our guide on signals, slots and events.
Setting a Gradient Programmatically
The gradient is defined as a list of 2-tuple values containing a stop point as a float between 0 and 1, and a colour as either a hex str, QColor, or colour name. These can be set and retrieved through the API.
gradient.setGradient([(0, 'black'), (1, 'red')])

>>> gradient.gradient()
[(0, 'black'), (1, 'red')]
If you set a gradient with stops out of order, they will be sorted automatically.
gradient.setGradient([(0, 'black'), (1, 'green'), (0.5, 'red')])

>>> gradient.gradient()
[(0.0, 'black'), (0.5, 'red'), (1.0, 'green')]
If any stop is outside the range 0..1 it will throw an assertion error.
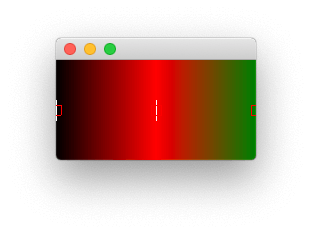 Gradient auto-sorted when set.
Modifying the Gradient via the API
Alongside the GUI interface, you can edit the gradient by adding or removing color stop points through the Python API. The methods available are —
.addStop(stop, color=None) — Add a new stop to the gradient. The stop is a float between 0 and 1, and the optional second parameter is a colour (hex, QColor, or color name) for that point. If no colour is provided it defaults to the same colour as the following stop.
.removeStopAtPosition(n) — Remove a stop by index (i.e. order; the first stop would be zero). You cannot remove the end stop points.
.setColorAtPosition(n, color) — Set the color of a given stop by index (i.e. order).
.chooseColorAtPosition(n, current_color=None) — Pop up a colour picker dialog for the specified stop by index. If the optional parameter current_color is provided, the colour chooser will default to this initially. For more on using dialogs in your PyQt5 applications, see the dialogs tutorial.
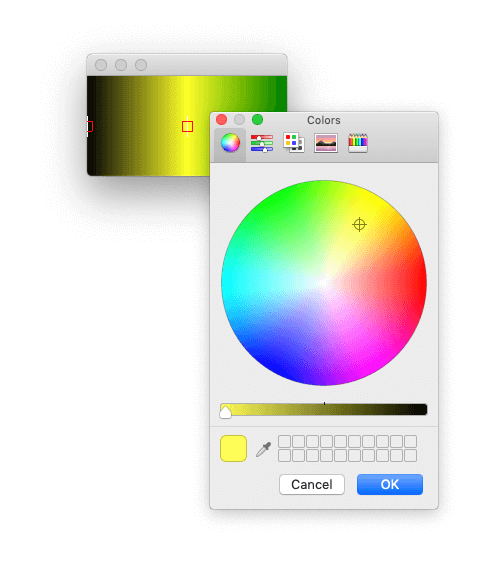 The colour picker popped up by the Gradient widget
Bring Your PyQt/PySide Application to Market
Stuck in development hell? I'll help you get your project focused, finished and released. Benefit from years of practical experience releasing software with Python.
